1. Locate the loose and hollow problem area by tapping a wooden dowel or tool handle on the surface of the floor, listening for a hollow sound. Once located, use chalk or tape to mark a perimeter around the problem area.
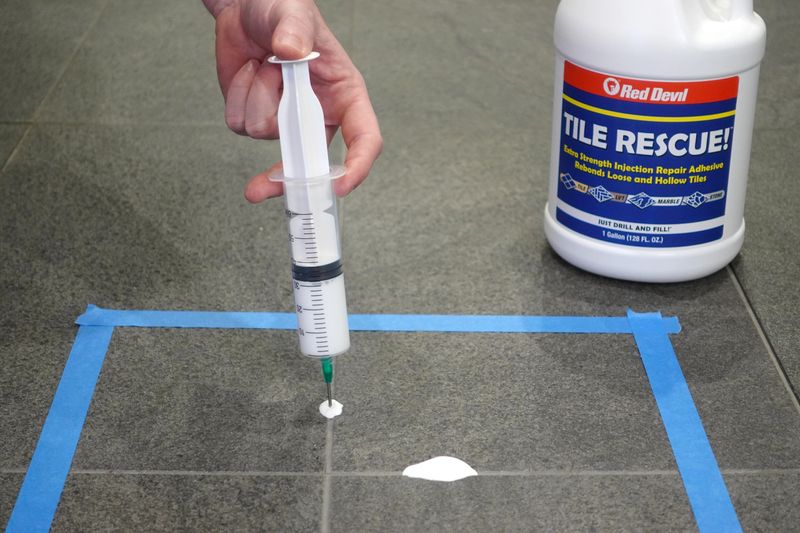
2. Inside the marked perimeter, drill 1-2 holes straight down into the gout lines on each side of the tile using a 1/8” to 1/4” masonry drill bit, or a 9/64” standard drill bit for plank applications. Ensure the drilled holes are just wide enough to fit within the grout line without touching the tile edges, and avoid drilling into the subfloor. Wider grout lines may require a larger drill bit.
3. Using a rubber mallet and a vacuum, lightly tap the mallet and vacuum over each hole to dislodge and remove any loose dirt and debris.
4. Remove the cap from the end of the nozzle and cut the nozzle tip to a size that provides a snug fit into each hole without touching the subfloor. Unscrew the nozzle from the threaded cartridge nub and, with a utility knife, cut an opening directly above the nub’s thread line. Reattach the nozzle to the cartridge and keep the cartridge upright until it is ready to use.
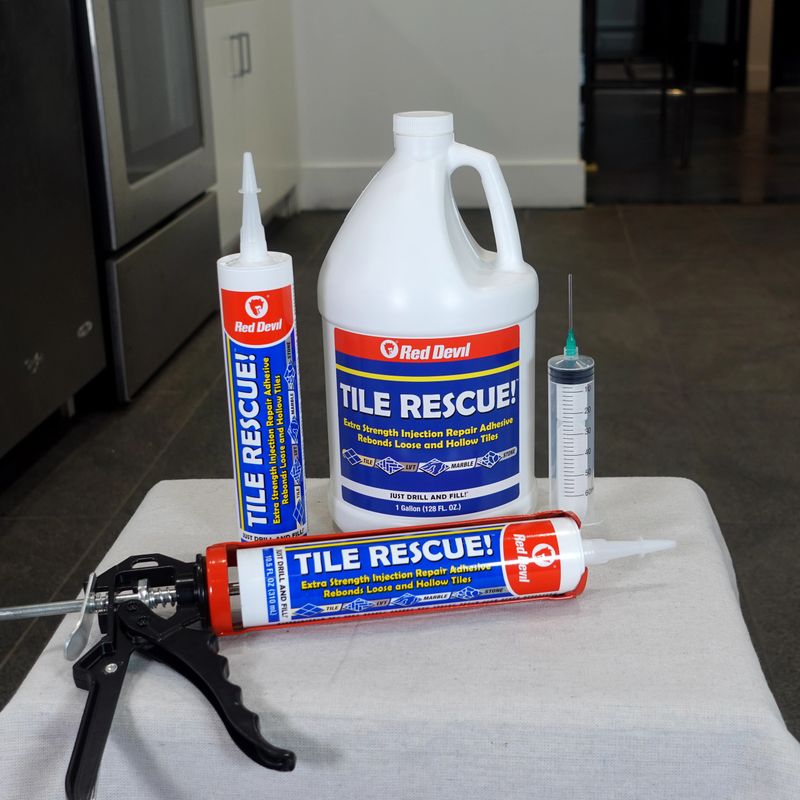
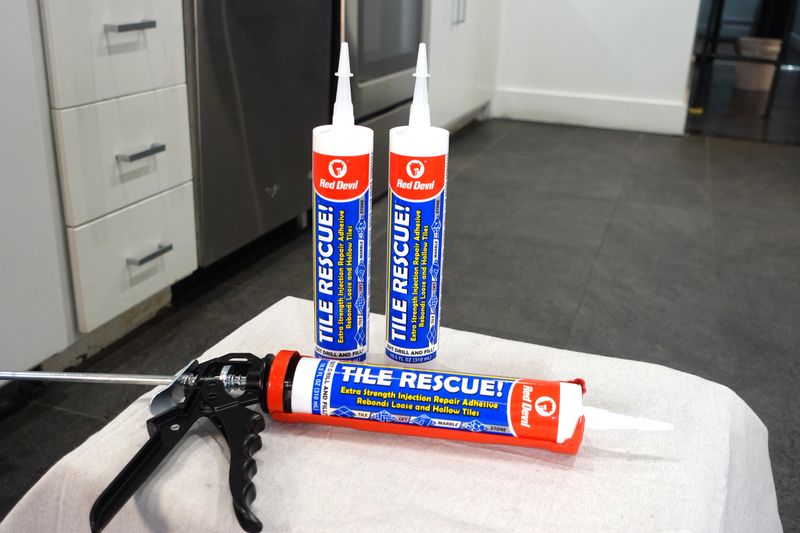
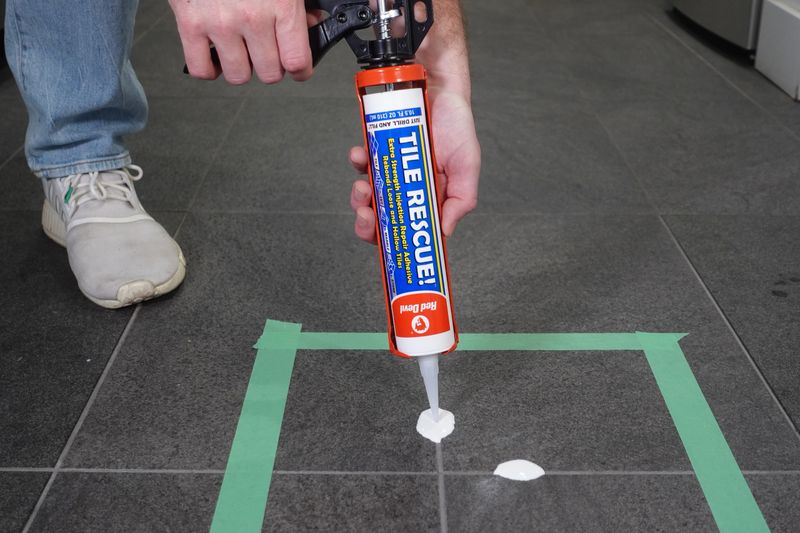
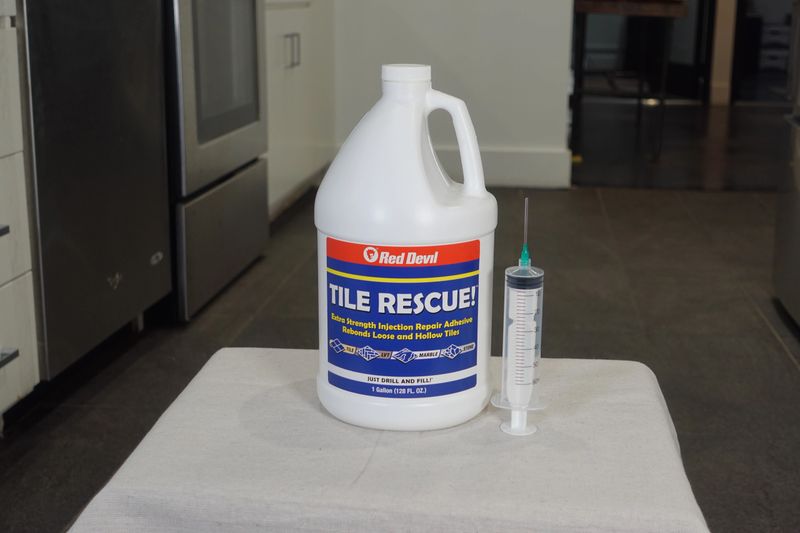
5. Load the cartridge into a full-framed 8:1 or 10:1 thrust ratio caulk gun and apply. Keep the nozzle tip firmly pressed against the first drilled hole and slowly dispense the TILE RESCUE™ repair adhesive into the cavity until it begins to overflow from the adjacent hole(s). Repeat this process until a visible overflow is achieved from each hole, ensuring complete coverage of the problem area. If adhesive flow proves difficult in one hole, proceed to the next one. When moving between holes, keep the nozzle tilted upwards and place a disposable rag beneath to prevent unnecessary drips.
6. Use a damp cloth or sponge to wipe up and remove adhesive overflow and other excess adhesive from the application surface. Place 20 to 40 pounds of weight, typically a bucket of 2.5 to 5 gallons of water, in the center of the application area and allow the adhesive to cure for a minimum of 24 hours. Heavier flooring material will require a heavier weight. Additional cleanup may be necessary as the applied adhesive can continue to overflow once the weight is placed.
7. Once TILE RESCUE™ Injection Repair Adhesive has fully cured, apply color-matching grout over the injection entry holes and smooth it over the grout lines with a damp cloth or sponge. For plank applications, use color-matching wood filler. Once the grout or wood filler is dry, use a dry cloth to wipe off the application surface. If any dried adhesive residue remains after cleanup, use an adhesive/residue Remover to eliminate any stubborn film or skinning on the floor’s surface.
Recommendations
• TILE RESCUE™ is NOT recommended for use on floating floor systems that utilize click-lock edges or underlayment. It can be used to repair glue-down laminate and luxury vinyl flooring. Ensure the product is tested in one repair area first before applying it to others.
• Not recommended for use on carpet flooring.
• Use Red Devil® Revolving Barrel Caulk Gun (3988) or similar half-barrel/full-framed 8:1 to 10:1 thrust ratio caulk gun. Avoid using a skeleton-frame caulk gun for application.
• Ensure the tile floor is installed properly using adequate expansion joints. Stress on the tiles will limit the success of this product.
• When repairing heated floors, ensure heating elements are turned off for 48 hours before, during, and after application.
• When repairing bathroom & shower tile, ensure the subfloor is free of moisture before application and the surface is adequately sealed after the adhesive has fully cured.
• Can be used as a general flooring adhesive to reattach entirely removed tiles or planks.